Under Cabinet Lighting: Light Bars, Tape, or Pucks?
Ask a room full of electricians what belongs under a wall cabinet and the debate is not about brands, it is about format. Each of the three under cabinet lighting formats installs differently, dims differently, and suits a different job, and the choice should be made before any wire gets pulled.
| Format | Light Character | Installation | Best For |
|---|
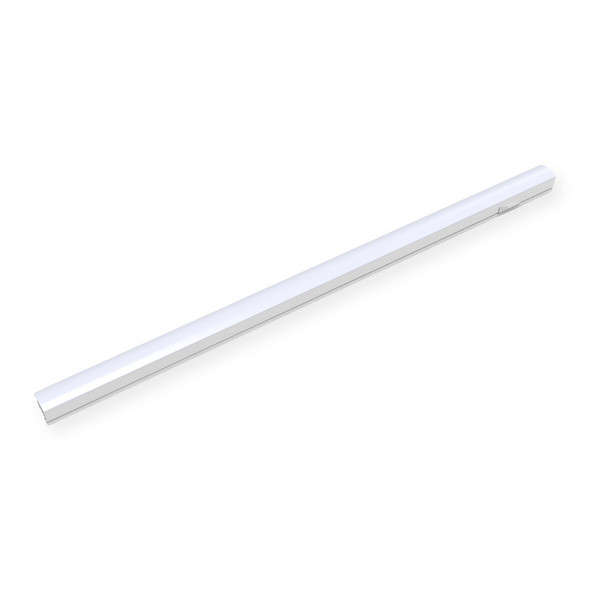
| LED light bars (linkable) | Even, continuous task light with built-in diffusion | Hardwired or plug-in; link end to end across the run | Kitchens, labs, and workstations; the workhorse spec for electricians |
| Tape or strip in channel | Continuous, dot-free line when mounted in a diffused channel | Driver-fed low voltage; channel conceals and heat-sinks the tape | Custom millwork, long unbroken runs, tight reveals |
| Puck lights | Defined pools of accent light | Hardwired, driver-fed, plug-in, or battery | Display shelving and glass cabinets more than task counters |
For counter task work, bars and channel-mounted tape produce the even wash that prevents striping on the backsplash. Pucks read as accent lighting; use them where pools of light are the point. Full selection logic for that format lives in the puck lights category, and flexible strip options in tape lighting.
Hardwired Installs: Runs, Drivers, and Where to Hide Them
Hardwired is the professional default for under cabinet lights because it eliminates visible cords and puts the lighting on a switched circuit like any other fixture. Linkable bars make long runs manageable: fixtures connect end to end from a single junction, and the spec sheet states the maximum number of units per run, a limit set by the connector and internal wiring rating. Do not exceed it by chaining across a second power feed instead.
Driver-fed systems add a placement question, because the driver has to live somewhere serviceable and ventilated. Standard practice is above the wall cabinets, inside an adjacent cabinet, or remoted to a nearby closet or basement chase, never sealed permanently behind millwork. Size the driver by totaling the connected wattage and adding about 20 percent headroom: a 30-foot tape run drawing 3 watts per foot is a 90-watt load, which calls for at least 108 watts of driver capacity, so spec the next standard size up and split long runs into parallel feeds to avoid voltage drop at the far end.
Dimming Protocols and Color Quality
Dimming failures under cabinets are almost always a protocol mismatch, not a bad fixture. TRIAC (phase-cut) dimming works with common wall dimmers and suits line-voltage bars and smaller residential-grade circuits. 0-10V dimming, standard in commercial spaces, needs the extra low-voltage control pair run to the driver. ELV dimming covers many electronic low-voltage drivers with smoother low-end performance. Pick the protocol the building's controls already speak, then buy fixtures and drivers rated for it, and confirm the combination on the manufacturer's compatibility list.
On color, counters are task surfaces, so specify accordingly. High-CRI output (90 plus) keeps food, finishes, and printed material true. For under counter lighting, color temperature is a design call: 2700K to 3000K blends kitchen under counter lights with residential ambient lighting, while 3500K to 4000K reads cleaner on commercial prep and work surfaces. Selectable-CCT fixtures let installers standardize one SKU across jobs and set the temperature at install. The broader task and accent lighting category covers adjacent workstation and display options.