Products List
- Product
- Qty in Cart
- Quantity
- Price
- Subtotal
-

 Featured$44.15 - $54.15MSRP: $49.78 - $60.78SKU: WM-PL12ADJBRAND: Westgate Manufacturing
Quick Overview
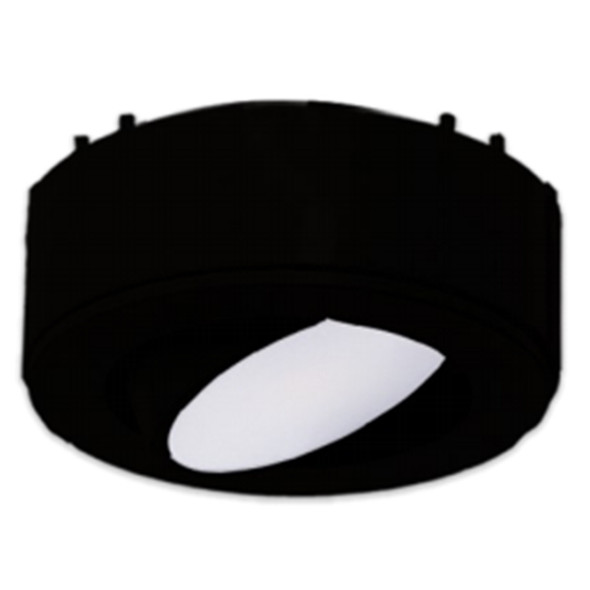
3-Inch Round 12V Adjustable LED Puck Light, 4.5 Watt (wattage: 4.5W; lumens: 250LM; CCT: 3000K; 4000K; 5000K; voltage: 12VAC; finish: White; Nickel)
FeaturedFeatured3-Inch Round 12V Adjustable LED Puck Light, 4.5 Watt
WM-PL12ADJ$44.15 - $54.15MSRP: $49.78 - $60.78Adjustable Square Slim Puck Light for Versatile Lighting Solutions Enhance your under cabinet lighting, display cases, or any low-profile areas with our state-of-the-art Adjustable Square Slim Puck... -


4.5 Watt LED Adjustable Puck Light, 120V
WM-PL120ADJ$32.74 - $41.30MSRP: $36.78 - $45.78Enhance your lighting setup with our versatile 120V LED adjustable puck light. Boasting a mere 4.5 watts of power, this high-efficiency fixture delivers an impressive 250 lumens. Customize your... -


4 Inch Round 3.5 Watt LED Slim Puck Light
WM-PL12R$17.00MSRP: $18.78Versatile Lighting Solution for Various Applications The 4 Inch Round Slim Puck Light is the perfect lighting solution for under cabinet applications, display cases, or any low profile area that... -


4 Watt LED Undercabinet Puck Light
WM-LED-PL1$31.30 - $32.74MSRP: $34.78 - $36.78LED Puck Light - Superior Quality Under Cabinet Lighting Illuminate your spaces with the WM-LED-PL1 LED Puck Light, a perfect solution for energy-efficient, low-heat, and environmentally friendly... -


4-Inch Square 3.5 Watt LED Slim Puck Light
WM-PL12S$15.74MSRP: $17.78Perfect Solution for Under Cabinet and Low Profile Lighting Enhance your lighting with our 4 Inch Round Slim Puck Light, ideal for under cabinet lighting, display cases, or low-profile areas... -


4.5 Watt Adjustable LED Puck Light
WM-PL120ADJ-3KIT$84.15MSRP: $93.78Adjustable LED 120V Puck Lights - Perfect for Any Setting Upgrade your lighting with our premium Adjustable LED Puck Lights. Each light operates at 120V, utilizing only 4.5 watts to emit an... -


3-Inch Round 2 Watt LED Slim Puck Light
WM-PL12-3KIT$68.45MSRP: $76.78Enhance your under cabinet, display cases, or any low-profile areas with our premium-quality 3 Inch Round Slim Puck Light. This versatile lighting solution is designed to deliver optimal... -


3-Inch Round 2 Watt Slim Puck LED Light
WM-PL12$15.74 - $18.74MSRP: $17.78 - $20.78WM-PL12 Under Cabinet Puck Light Perfect for illuminating under cabinets, display cases, or any low-profile application, the WM-PL12 Under Cabinet Puck Light provides versatile lighting solutions... -


3" Round Slim Puck Light, 5CCT Adjustable, 2W, 12VDC, 124LM
WM-PL12-MCT5$14.15MSRP: $15.72The Westgate 3" Round Slim Puck Light is a compact, low-profile accent and task lighting solution designed for modern cabinetry, shelving, and display applications. As part of Westgate’s PL12... -


12V Puck Light, 5CCT, PIR Sensor, Brushed Nickel
WM-PL12-MCT5-PIR$15.74MSRP: $17.78The Westgate 12V Puck 5CCT with PIR Sensor is a compact, low-profile lighting solution designed for under-cabinet and display applications. As part of Westgate’s versatile puck lighting lineup, it... -

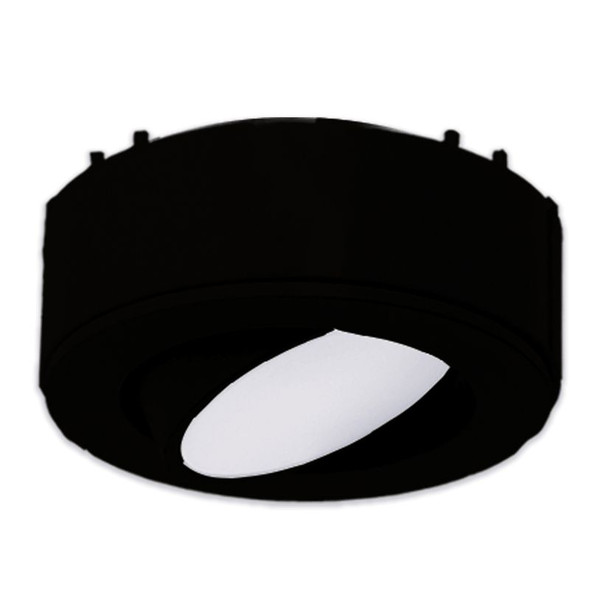
12V Adj. Slim Puck Light, Etl, 3000K, Black
WM-PL12ADJ-BK$44.25MSRP: $54.68The Westgate PL12ADJ-BK Series 4" Square Slim Puck Light is a compact accent and task lighting solution designed for tight spaces where clean appearance and reliable performance matter. As part of... -

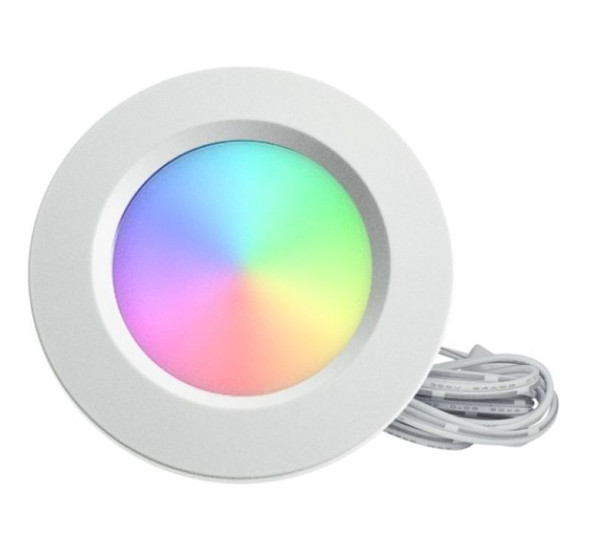
LED Puck Light, RGBW, 4W, 250LM, Ultra Slim Canless Recessed, Round
WM-TC-PL12-RGBW$21.30MSRP: $23.78Ultra Slim Canless Recessed LED Puck Light with RGBW color, 4W power, delivering 250 lumens. Ideal for dynamic lighting. Key Features and Benefits RGBW color for versatile... -

Westgate Manufacturing 25 Watt Hardwire for Puck/Strip Light
WM-PL12-HWDR-25W-D$48.45MSRP: $53.78Introducing the Westgate Manufacturing 25W Hardwire for Puck/Strip Light - PL12-SPLIT6-WH The Westgate Manufacturing PL12-SPLIT6-WH stands out as an essential hardwire solution for versatile puck... -


3-Inch 2.2 Watt LED Ultra Slim Puck Light
LLL-AD-107T$15.153-inch LED ultra slim LED puck lights, 2.2 watts, 150-170 lumens, available in 3000K or 4000K color temperature (CCT), white, black or brushed nickel trim finish, up to 50,000 hours rated life, 3... -


Ultra Slim LED Puck Lights, 3 Pack, 3000K, White Surface Mount Bracket Included
LLL-3P-AD107T-3K$69.10Lotus LED Lights presents a 3 pack of ultra slim LED puck lights, perfect for undercabinet, cove, hospitality, and retail lighting. With their sleek design, these puck lights can be recessed or... -
 New!New!
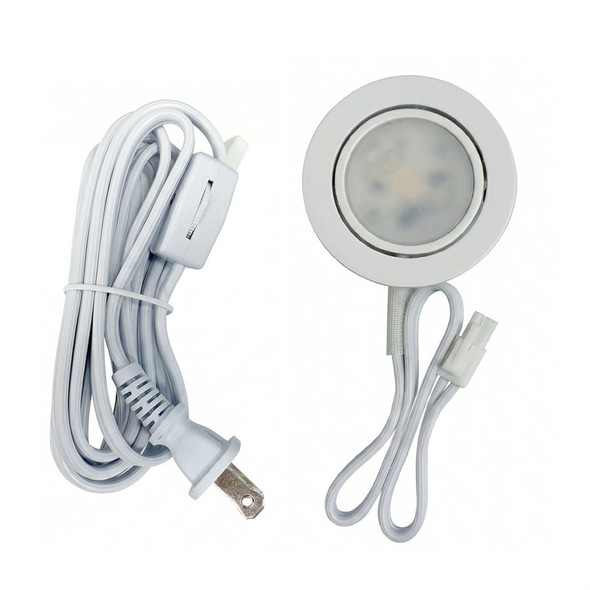
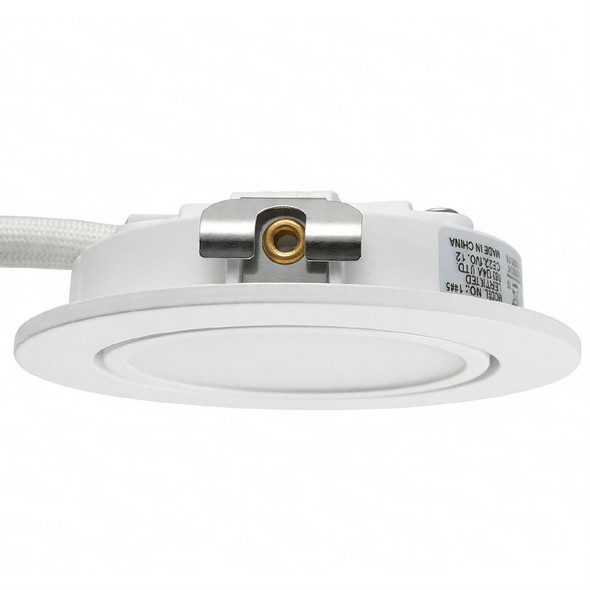
Sunlite 1 Head Recessed LED Puck Light, 4.3W, 4000K, White, 120V
SU-88921-SU$13.70The Sunlite 1-head recessed LED puck light is a compact fixture designed for clean, low-profile illumination in indoor spaces. As part of Sunlite’s puck lighting lineup, it delivers dependable... -

 New!New!
Sunlite 3 Head Puck Light, 12.9W, 4000K, White
SU-88922-SU$29.05The Sunlite 3 Head Puck Light is a compact recessed LED fixture designed for clean, modern indoor lighting. As part of Sunlite’s practical accent lighting lineup, it combines multi-head coverage... -


Omni Slim 3CCT, White/Black, 2700K/3000K/4000K, Up to 280Lm
AL-PLX-OMNSLI-3CCT-WHBK$36.00The Omni Slim 3CCT Puck Light is a versatile and sleek lighting solution, perfect for accent, under-cabinet, in-cabinet, and task applications. Ideal for spaces where size is a concern, it... -

2 Watt LED Undercabinet Hockey Puck Light
CTL-UL3PK$24.25 - $26.90Undercabinet hockey LED puck light, 2 watts, 150 lumens, available in 3000K color temperature (CCT), safe low voltage system, up to 15,000 hours rated life. 3 PACK UNDER CABINET LIGHT... -
 New!New!
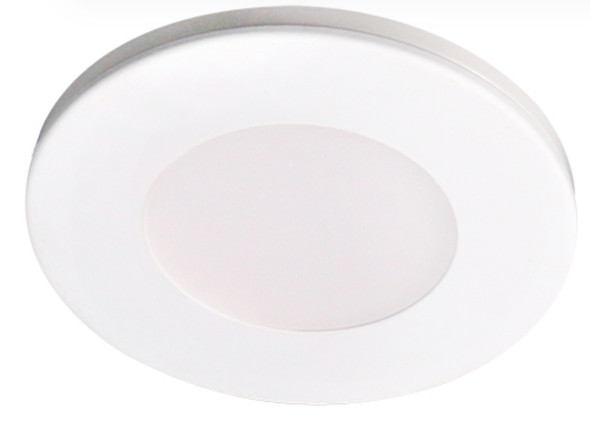
Ultra Slim LED Puck Light 2.2W, 3000K, 12V DC, White Trim Only
LLL-AD-107T-3K-WH$12.05The Lotus LED Lights AD-107T series is an ultra-slim architectural puck solution designed for clean, low-profile accent and task lighting. Built for modern undercabinet and cove applications, this...