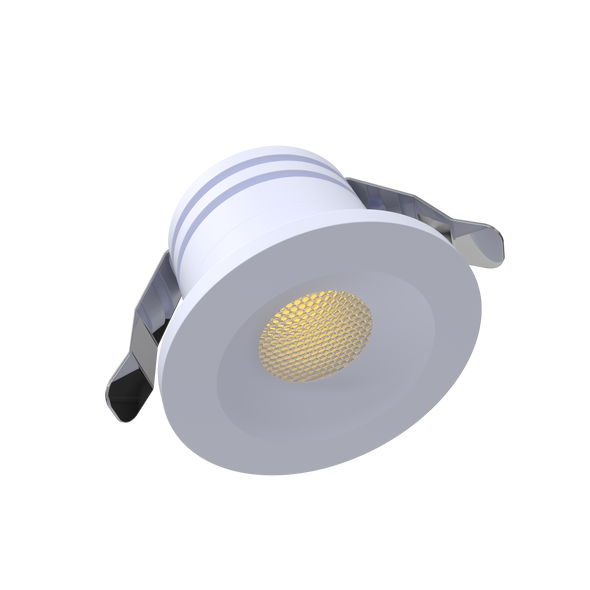
Puck Lights by Power Source: Pick the Wiring Before the Fixture
The fixture is the easy choice. What determines how puck lights install, dim, and hold up over time is the power source, and that decision comes first. Millwork installers and remodelers work across four approaches, each with different wiring, dimming, and rework implications.
| Power Source | Wiring | Dimming | Best For |
|---|
| 120V hardwired | Direct to the branch circuit, no driver | Wall dimmer; confirm the dimming type the fixture supports | Permanent installs in kitchens, retail, and hospitality |
| 12V or 24V driver-fed | Low-voltage runs daisy-chained from a Class 2 driver | Through the driver; dimming method depends on the driver spec | Display cases, millwork packages, multi-puck runs |
| Plug-in | Cord and wire harness to a receptacle | Inline or plug-in dimmer where supported | Display environments that get reconfigured often |
| Battery operated puck lights | None | Usually step dimming on the fixture | Spots with no power access; not suited to daily task duty |
For permanent commercial work, hardwired and driver-fed configurations are what get specified. Battery powered puck lights solve a real problem in closets and rental spaces, but battery replacement cycles make them the wrong answer for a display case that runs ten hours a day.
Driver Sizing for Multi-Puck Runs
Low-voltage LED puck lights on a shared driver need simple arithmetic done up front. Total the fixture wattage, then add headroom of about 20 percent so the driver is not running at its ceiling. Six 3-watt pucks total 18 watts; with headroom that calls for a driver of at least 22 watts, so a standard 24-watt Class 2 driver fits. Match the driver's output voltage to the pucks (12V and 24V systems do not mix), and keep low-voltage wire runs short and adequately gauged, since undersized runs show up as visible dimming at the far end of the chain. If the run needs to dim, the driver is what makes that possible, so choose a dimmable driver whose method matches the control you plan to use.
Recessed or Surface Mounting into Cabinet Stock
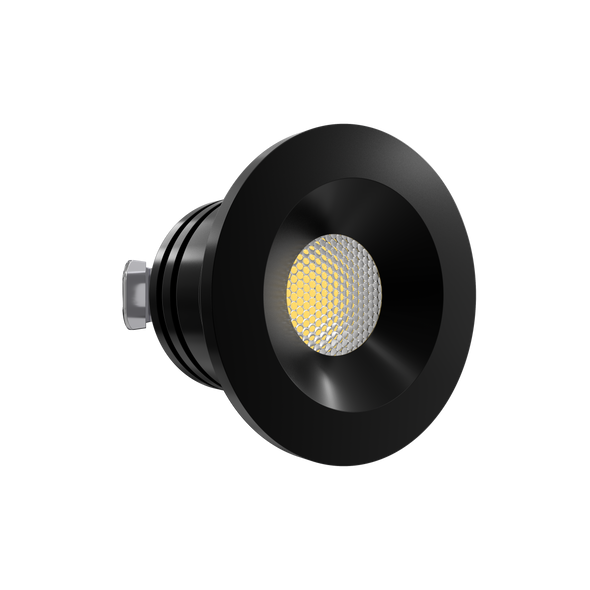
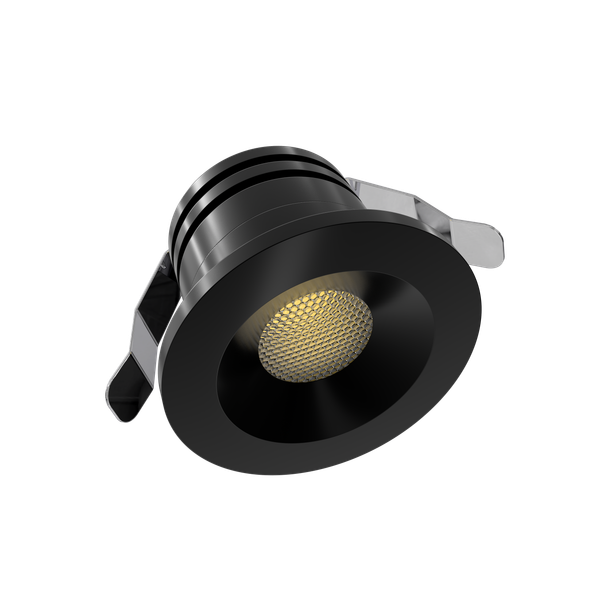
Most puck light models install either way, but the cabinet stock decides which one you want. Recessed mounting drops the puck flush into a drilled cutout for the cleanest look; check the spec sheet for the cutout diameter and the depth clearance behind the panel before drilling, and confirm the panel is thick enough to leave material around the hole. Surface mounting sits the puck proud of the panel with a trim ring, the practical choice on thin shelf stock or where drilling through a finished face is not an option.
Beam and color specs matter as much as mounting on display work. Typical puck beam angles run narrow to medium, roughly 15 to 40 degrees, which is what makes them accent fixtures rather than area lighting. For merchandise, food service counters, and any surface where color accuracy sells the product, specify high-CRI models, and match color temperature to the setting: 2700K warm accenting for upscale retail, 3500K to 4000K for task surfaces and commercial casework.
Related Task and Accent Categories
For continuous linear accent light instead of point sources, see tape lighting. For linear task bars beneath wall cabinets, see under cabinet light bars. The full task and accent lighting category covers the complete range.